Showing posts with label paper envelopes. Show all posts

Saturday, August 25, 2012

Pretty in Pastels - The Envelope Edition.


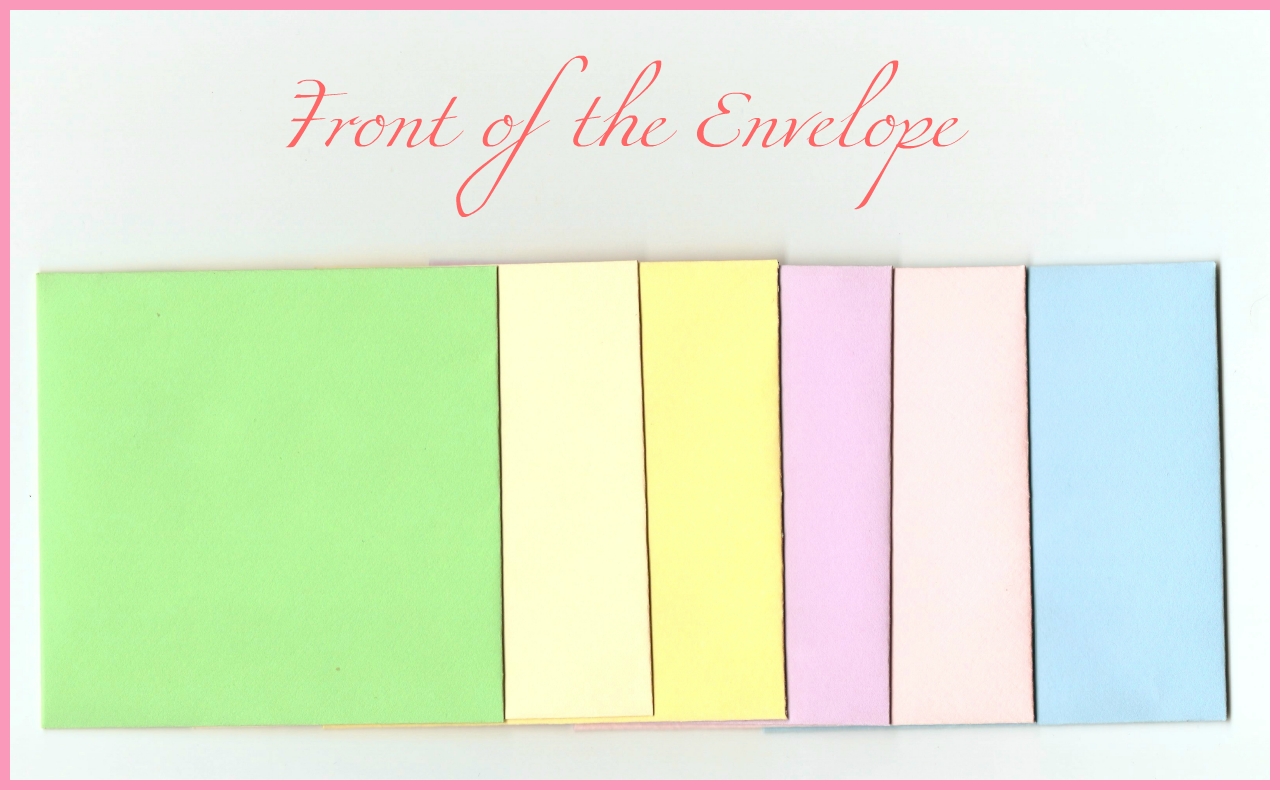
Who doesn't love Pastels? Every little girl or even a lady in her 80's would still find it dainty all the time. I made envelopes out of boredom and finally am so pleased with the finished product. Try it and trust me, your day will turn out bright and wonderful! 

The power tools that you'll ever need. 

To get the template exactly like mine please click here

Or you can also use the above template which works perfectly the same.
Try to visit this blog too for many more lovely envelope patterns and templates: 

1. You will need a template or an envelope pattern that you can get online or you can simply make yourself. Trace the outline along your chosen colored construction paper or any sturdy paper for your envelope. Cut along the traced line and fold all the edges leaving the top area in place and seal them all together using a glue stick or a double sided tape. This will now resemble an open envelope. 

Remember the Trusty Paper Bag from my previous post? Well, this still came handy. They look so pretty and classy when paired with neutral colors. Reuse and Recycle. 
2. Take a piece of the beautiful pattern from the paper bag and cut along an approximate size that can fit into the envelope and make some steady measurements to create a liner. 

3. Assemble the liner and the envelope and this is what you will get. 


How pleasant-looking can these liners be? They all look so colorful and yummy. The liners used on this envelopes are actually scrapbooking paper given by my childhood friend, Jojo. 

I made a few liners in solid colors as well. You can go as wild as your imagination can ever be. Note that these liners are all recycled gift wrapping papers I used last year for our wedding give-aways. There are so many beautiful inspirations from recycled materials.

Have a lovely weekend!

Thursday, August 23, 2012

Floral Envelopes.

With all my bookmarks and other knick-knacks on hand, I finally decided to create a nice packet for them essentially for gift giving and others.

I plan to give all my cousins and nieces a piece or two of my handmade bookmarks so as to inspire them with school or even just to remind them of me while reading a book on a hot summer day.

All you ever need is a nice gift wrapper and your power tools (scissors, ruler, pencil, glue stick or a double sided tape) and a pattern for the envelopes that you will be crafting. I made an outline to house the size of my lovelies. You can also find envelope patterns and templates online but it is always nice to create something on your own, it gives you a sense of fulfillment afterwards.


If only there was a decent craft store in our city with lots of pretty things, I can make more of these envelopes. These wrappers are from Cebu and Tacloban. Hoping to make some more soon. Please let me know if you want a template like mine. I can send you a scanned document for stress-free cutting purposes.

Have a nice day!

Saturday, August 4, 2012

DIY Paper Envelopes with Liner

I've been making my own paper envelopes lately. Ideas and inspiration comes from the wide array of lovely sites I stumble upon the internet. I particularly wanted to re invent the simple paper envelope and make it more appealing with a liner to prettify the whole ensemble. 

This is what you'll ever need for this project. Consider them your best friends at the moment. 

A good quality Glue Stick or you can also make use of a Double-Sided Tape for sticking purposes. A mighty Pencil. Sharp Scissors that can cut layers of construction paper, and lastly for this particular project, a Brown Construction Paper

Photo via Google


What do you do with a piece of Paper Bag? I say, cut out the lovely pattern and make use of it. In that way, you have recycled and reused the item.

Here are the easy steps:

1. Look for an envelope that you are willing to copy. You can always get a lot of patterns online but on my part, I made my own. You can always copy mine if you wish.

2. Trace the outline along the construction paper.Be careful to be accurate with the measurements.

3. Now, you can start cutting the outline from the construction paper.  And fold all the edges together and seal them with glue or you can also use a double-sided tape.

4. Take a piece of the beautiful pattern from the paper bag and cut along an approximate size that can fit into the envelope and make some steady measurements to create a liner. 


5. This is what you'll get - the finished product from front and back. 

It's all about creating little pretty things that make you smile. And who doesn't love personalized items anyways? 

Have a happy weekend everyone! 

Sunday, July 29, 2012

DIY- Small Paper Envelopes.

Been doing a lot of crafting lately when boredom strikes me at any time of the day and night included. At times, I find myself yawning into the deep cold night but still carefully cutting the edges of my dainty bookmarks which I will be posting soon. 

And when my bookmarks are finally done, it would be so sad to just place them in an ordinary paper envelope or perhaps a little plastic. Rather, I thought of making my own paper envelopes from scratch. It would make the bookmarks even more prettier with a lovely packaging. 

I started to experiment on small coin envelopes. I was so inspired by the finds I came across Pinterest that I am going to share it with you.


 For the easy tiny envelopes tutorial please click here.

Here is what I made for our dear friends who recently got married. Just a simple coin envelope with just a minor decorating from paper punchers. 

 1. Make an outline of a small coin envelope that you can get online or might as well do it yourself. 

 2. Choose a specific paper or board and draw an outline along it. 

 3. Cut along the outline and fold the edges. Carefully glue them together to make an envelope. You can also try using a double sided tape. 

 4. This is how it should look like after sticking the folded edges all together. 

5. Decorate it with a little loveliness. 

I specifically used my Martha Stewart punchers. I love them so dearly and have been using it for my bookmarks as well. 

Have a lovely weekend everyone! :)
Related Posts Plugin for WordPress, Blogger...